This book can be used by two different types of readers: those facile with their computers who want to improve their digital photographic abilities, and the experienced photographer who wants to use sophisticated computer software for editing photographs. It is modest in size (186 pages plus a CD) and clearly makes compromises to appeal to both audiences. Nonetheless, the material is information rich and dense, which allows all types of users to find much of interest.
First a confession: the reviewer was a photographer in an earlier career, and has been working in a UNIX environment for over fifteen years. This caused a certain impatience while getting through some of the introductory material. Even so, there was much I found quite interesting and appealing as I read further.
The first part of this book describes the process of installing GIMP. For most Linux implementations this is pretty trivial. This review is being written on a laptop running Fedora Core 6; GIMP 2.2.13 was installed automatically and nothing else needed to be done. The screen shots given in the book are all from a Window XP environment, so the author (too bad for him) really did need to do an installation. That being said, if necessary, the use of the web site http://www.gimp.org/downloads for any operating system is straightforward.
There are a number of plugins that may be used with GIMP. It should be noted (as it is not it the text) that the utility gimptool is available under Linux that can do many things including the installation of plugins.
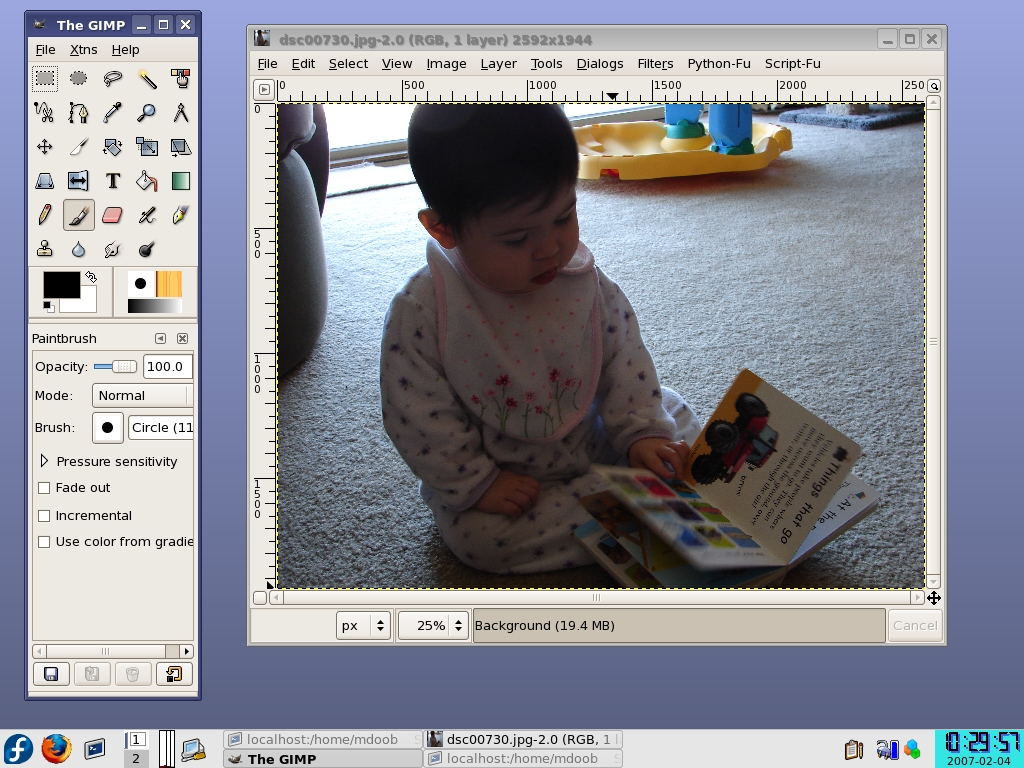
So what happens when GIMP starts? At least the following two windows should be present. The desktop might look something like this:
The window on the left is the toolbox and the window on the right is the image window with the material being edited.
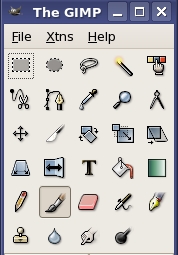
In the upper part of the toolbox are 29 icons corresponding to different tool available.
The use of the tools invoked by these icons is the heart of the book. They vary from simple transformation tools to ones that perform quite subtle changes. For example, rescaling a picture is very straightforward. Simply choose the rescaling icon (the fourteenth one in the array in the toolbox window) and give the horizontal and rescaling factors. Most of the time users would want to preserve the aspect ratio, but the software allows any scaling and is quite precise in its calculations.
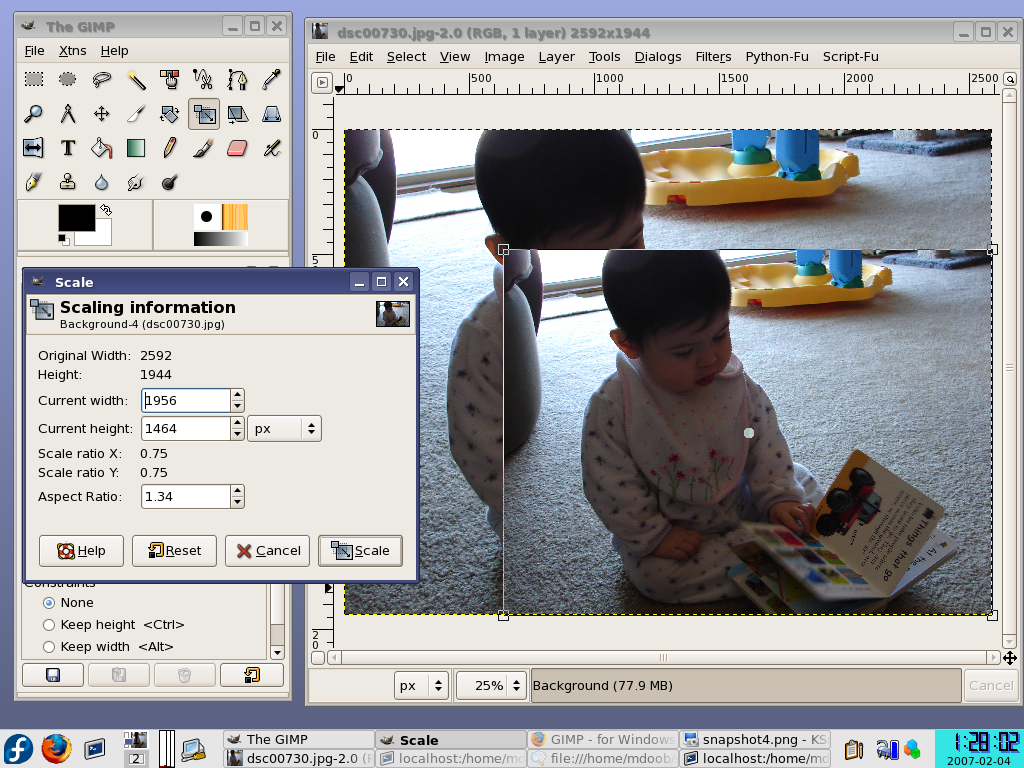
The new image is superimposed on top of the old one in the image window, and options for accepting, rejecting or reverting are available. If the options are accepted, the new image replaces the old one (in memory, not on the disk). There is a similar situation for rotating an image.
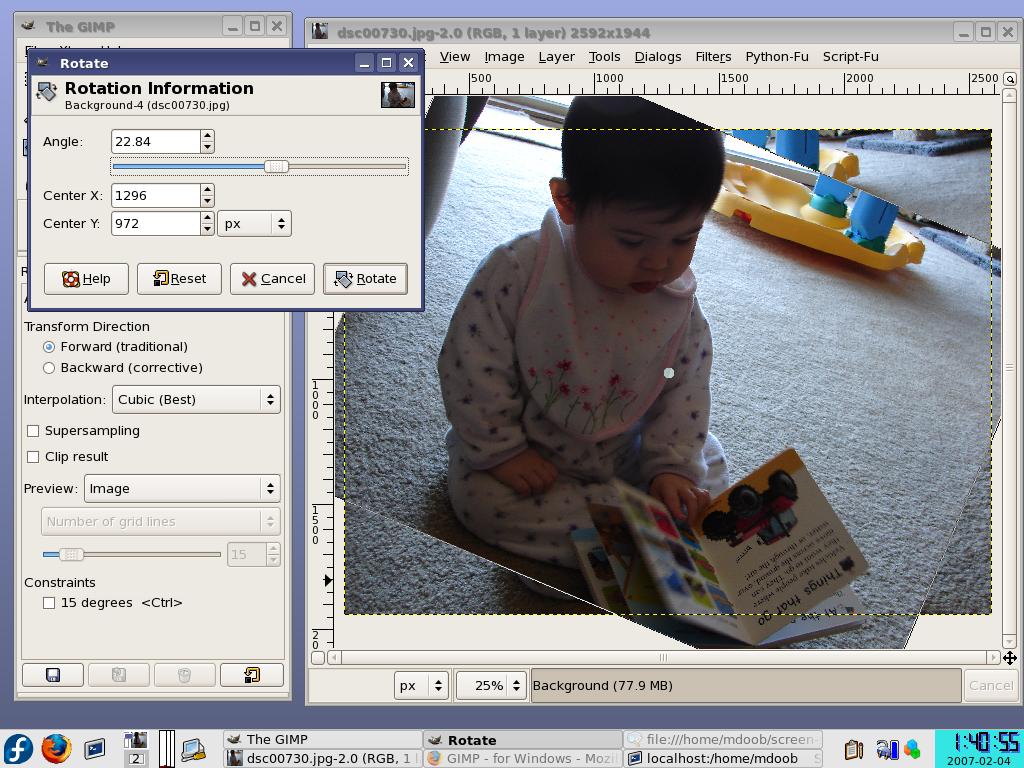
The slider can be used to rotate the image in real time (neat!), and the little dot on the image is the centre of the rotation which can also be moved using the mouse in real time.
Cropping is also straightforward. The little knife is the icon, and there are movable edges to show where the image will be cropped.
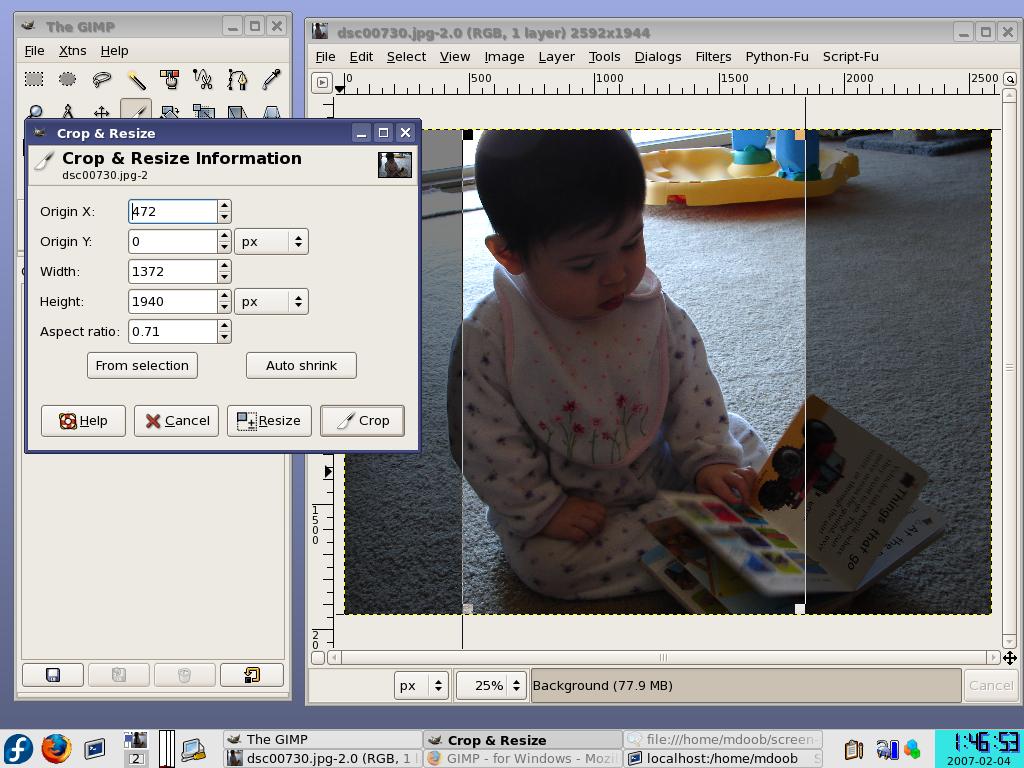
These three tools, resizing, rotating and cropping are the ones used to change the extent of the image. The next step is working with the colour characteristics. There are two types of editing: global colour changes and changes to sections of the image.
For example, here is a global change in the colour balance (the changes are actually in tonality with a midrange adjustment):
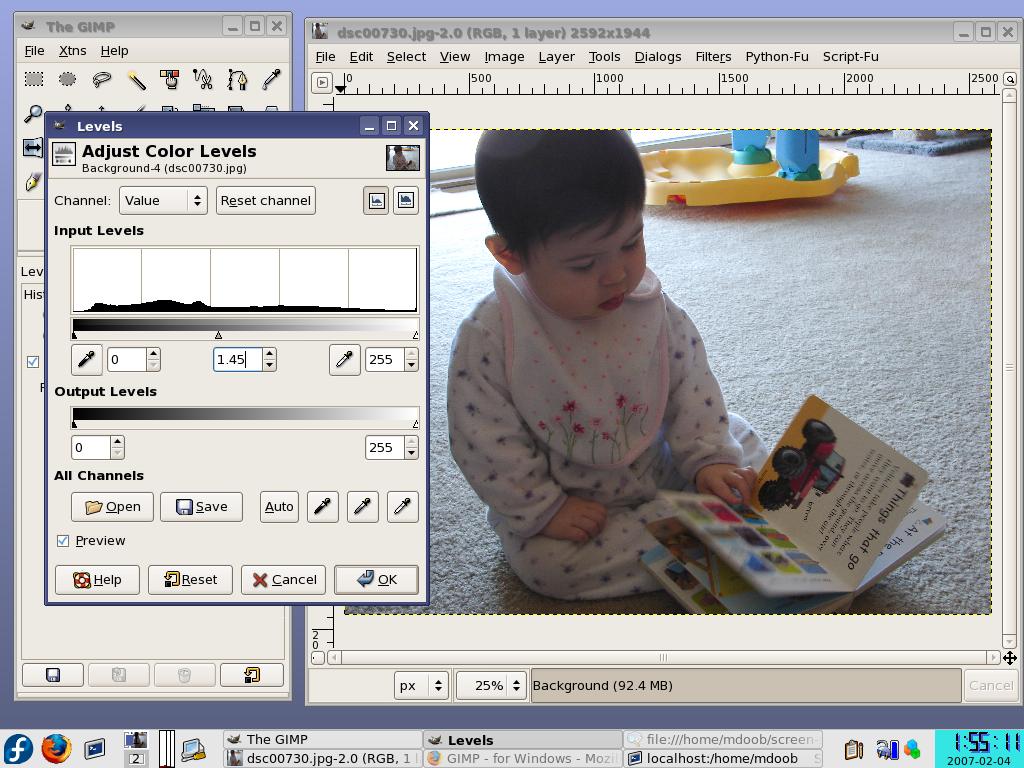
There are many global changes possible, both dramatic and subtle. This book does an excellent job of describing not only the technical changes and values involved, but also describes the effect of the changes. Much of the art of digital photography is mastered by understanding the effect of these changes. The only way to use these tool with control and understanding to to practice with them (the CD included has some samples to work with).
Here is another change of this type:

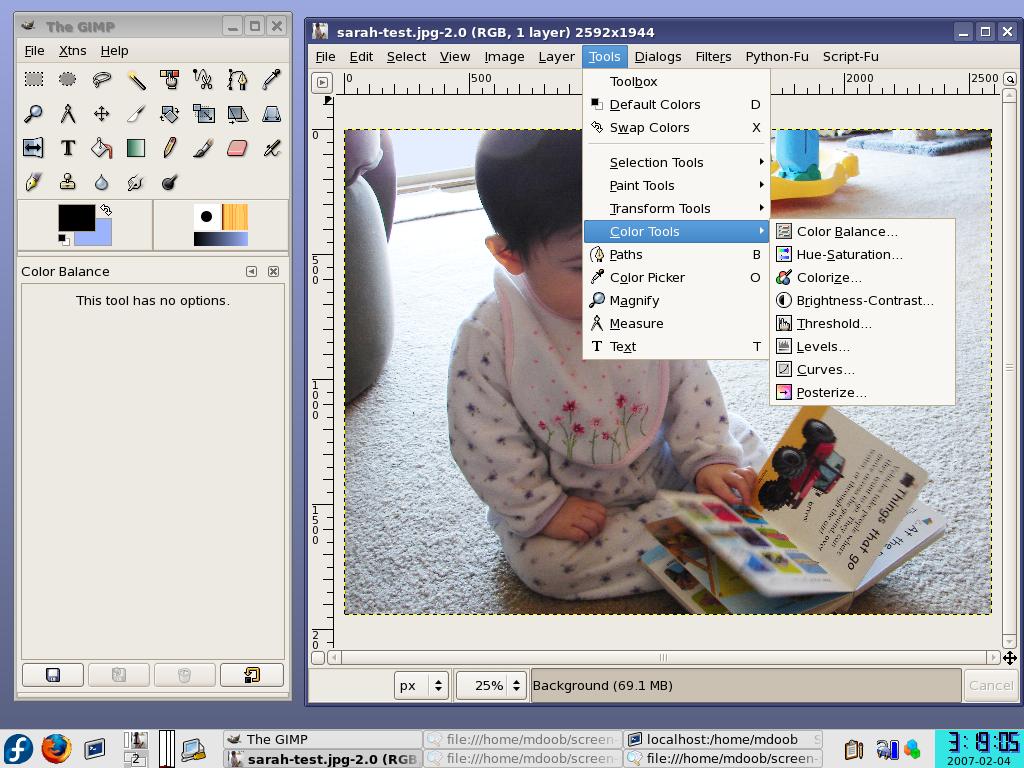
Not all of the tools are accessed directly from the toolbar. As would be expected, the drop-down menues also give access to tools. For example, the tools for global adjustment of colours are all in one place:
It is also possible to make changes to selected (local) parts of the image. For example, it is possible to get rid of the red eye reflections from flash exposures by selecting and red area and replacing it by either black or a sample of the eye colour. The selection tools are initial icons in the tool box. The first three are straightforward: rectangular selection, elliptical selection and free hand selection. The next icon, the magic wand, is also a selection where the user picks a point and the contiguous region with the same colour becomes the region. It's a great filling tool! Once a selection is made, it is easy to replace an area by either a specific coulour or a pattern. See how the bright background areas can be are toned down:

Many other local tools are available. Many of them imitate the classical retouching techniques of enlarger and brush: dodging, burning, blurring and smudging.
In addition, images can be handled as layers with different levels of transparency. It is possible, for example, to remove the red-eye effect by breaking the image into colour layers, and then deleting the bright spot in the red layer.
The use of these tools are explained in this book, mostly by example. In addition, much of the background necessary to understand the use of each tool is given, and this is one of the very strong features of this book. There is much documentation available elsewhere about the use of GIMP, including the excellent materials freely on the GIMP web site mentioned previously. This book has a more narrow vision addressing only the applications to photography; the approach is quite successful, and this book will certainly be of interest to those wanting to enhance their digital photographic skills.
This article is copyrighted by MUUG and the specific author(s). You are granted permission to duplicate it for non-commercial purposes only, provided it is not modified and includes this copyright notice as well as all author credits and attributions.
If you found this useful, you might also be interested in other MUUG tutorial articles. Or, why not find out more about MUUG? If you live in or near the Winnipeg area, why not check out one of our monthly meetings?